
EmailOctopus is a lovely newsletter site, and I do enjoy the fact that their UI is quite well done and user friendly, and on the technical side they have EmailOctopus Connect, which is allows for lower email costs. They bill by subscriber count though, so for any seriously large subscriber counts it would make more sense to self-host, but I like using them for small projects (like this blog for example) which will never ever see more than a handful of subscribers.
However, EmailOctopus could definitely up their game when it comes to their developer APIs and scripts. Their embeddable script is an absolute pain to work with when it comes to custom websites, especially if you're using a shadow DOM.
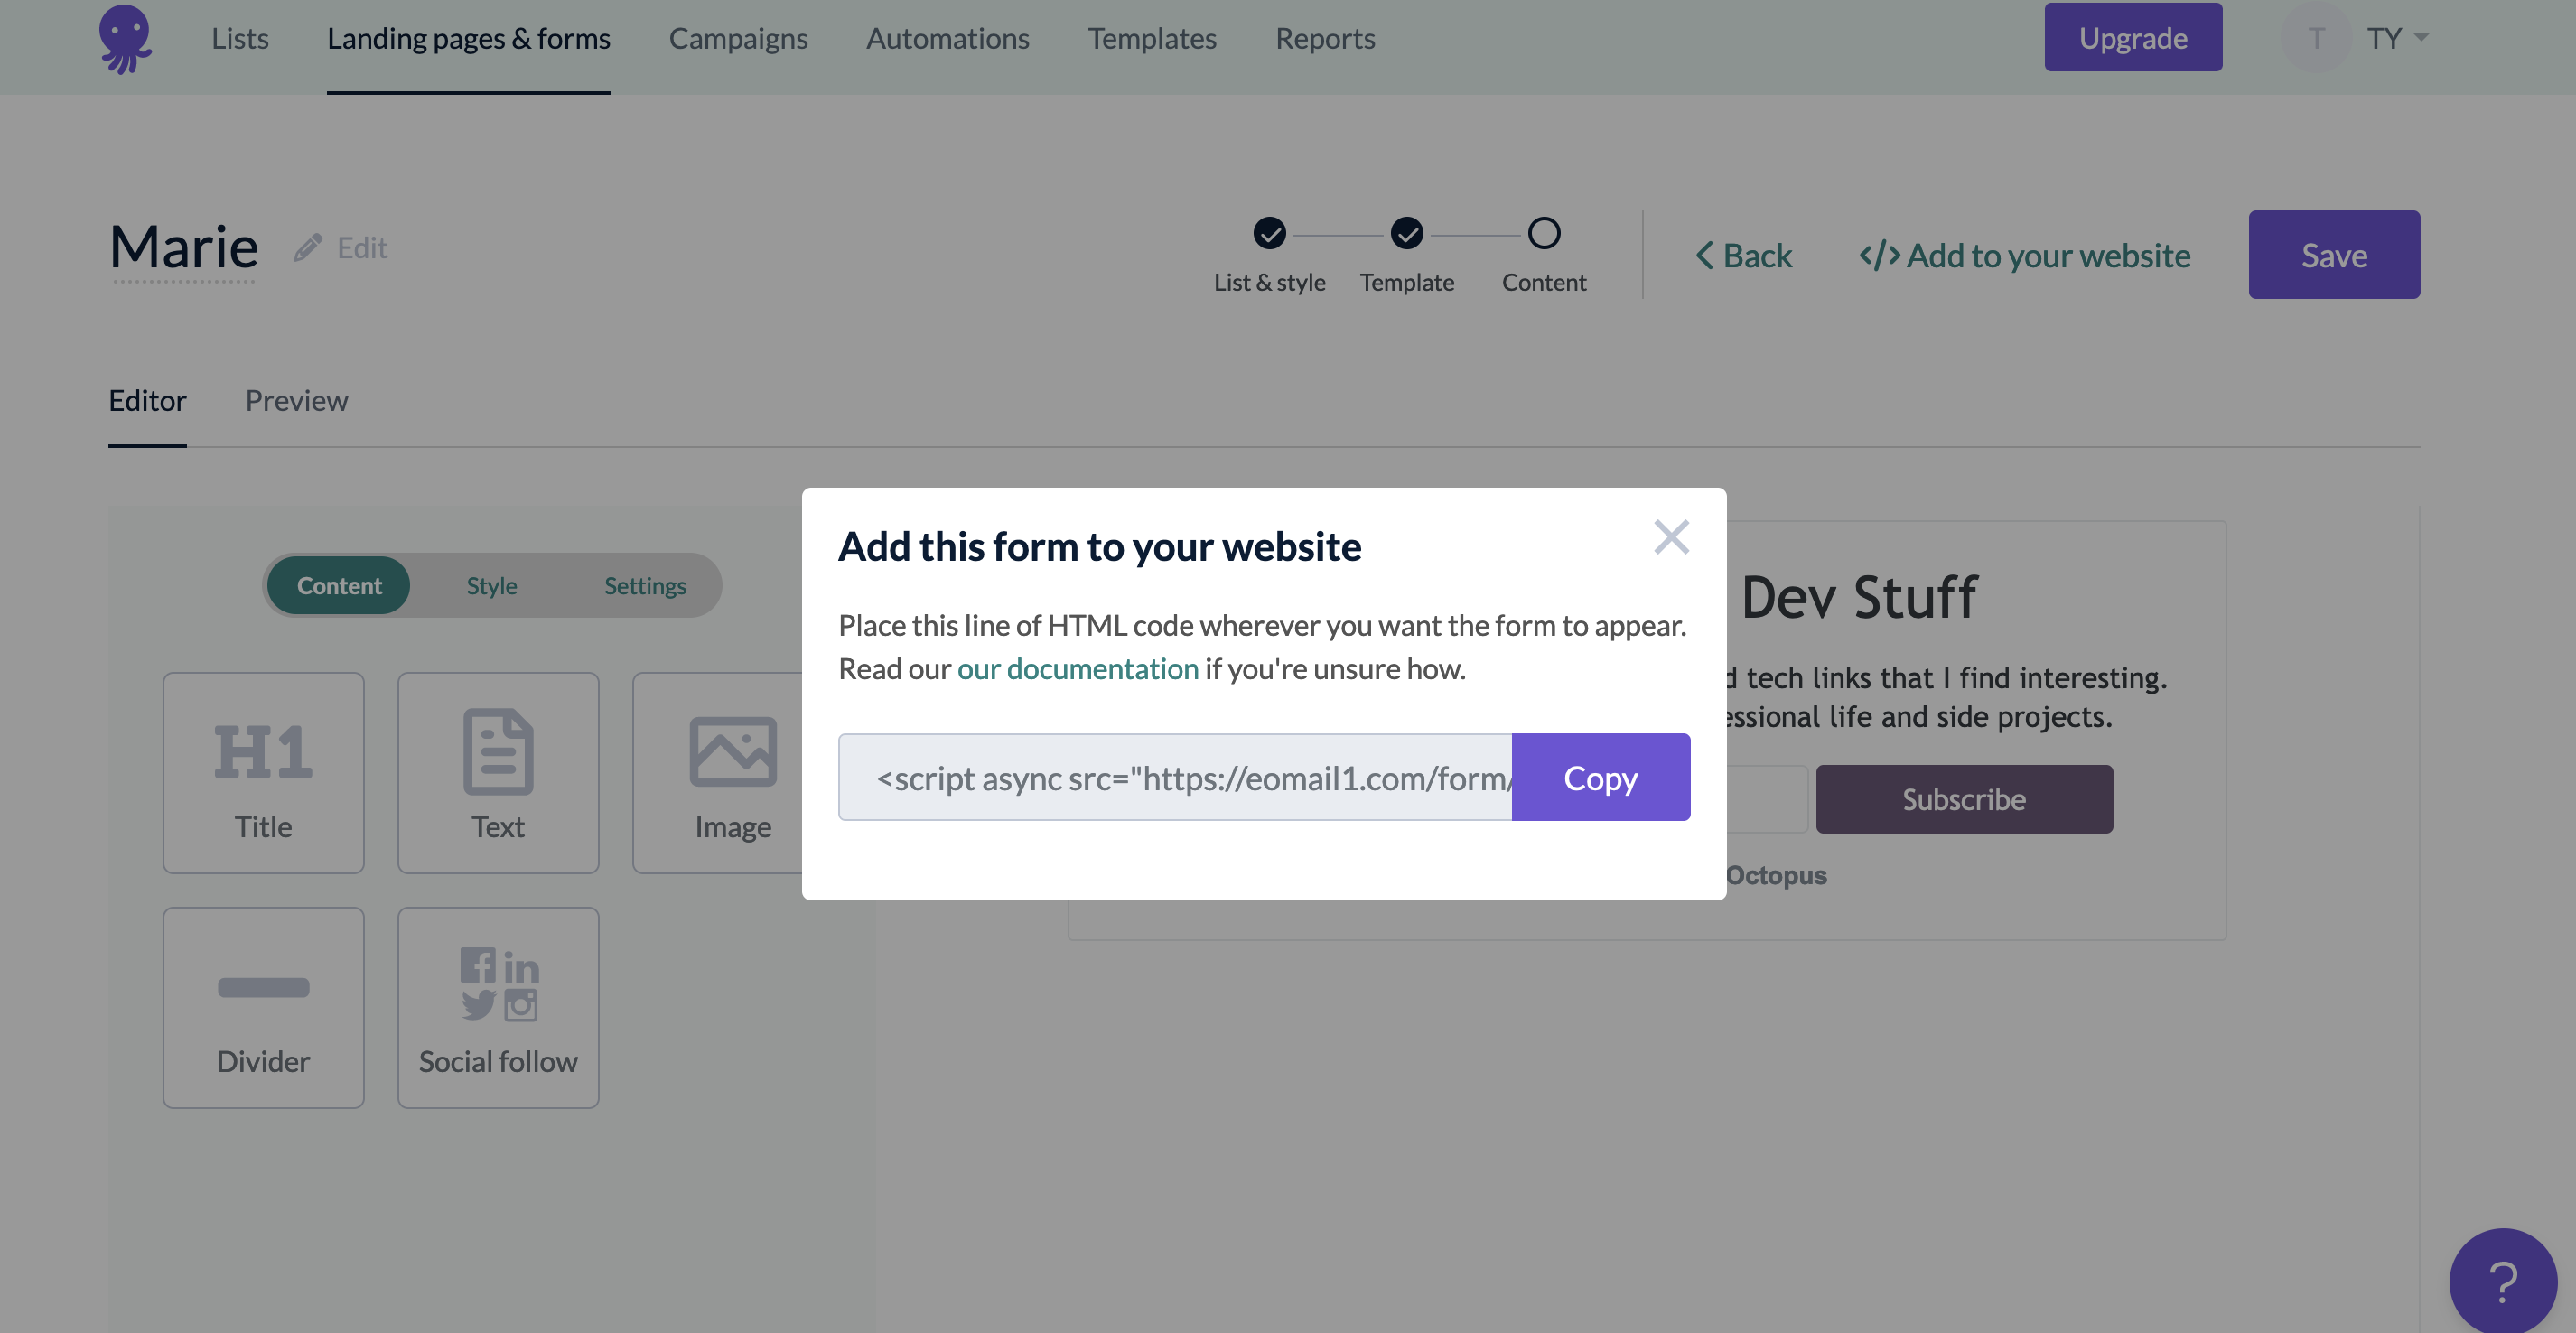
<script
  async
  src="https://eomail1.com/form/983899ac-29fb-11ef-9fcd-4756bf35ba80.js"
  data-form="983899ac-29fb-11ef-9fcd-4756bf35ba80"
  defer
  type="text/javascript"
></script>
Let me break this down for you:
- It loads a script asyncronously. The script is custom generated for the specific form created, as can be seen by the usage of the uuid in the script URL.
- The script will insert a form as well as load some additional some Google reCaptcha scripts for spam protection. It will also load some Google Fonts and any assets related to the form.
- By default, it does not come wiht the
deferandtypeattributes. These were added in by me, and would ensure that the browser executes it as JavaScript, and that execution would be deferred until the DOM is fully loaded. - It finds a
<script>tag with thedata-formattribute with that exact UUID and replaces it with the form. It then creates the required DOM nodes within the HTML page.
However, adding in the script directly to a React component would not work:
// 🚫 This will not work!
const MyComponent = () => (
  <div>
    <script
      async
      src="https://eomail1.com/form/983899ac-29fb-11ef-9fcd-4756bf35ba80.js"
      data-form="983899ac-29fb-11ef-9fcd-4756bf35ba80"
      defer
      type="text/javascript"
    ></script>
  </div>
);
Why wouldn't this work?
- React works with a shadowDOM, and thus there would not be any script tag available on the html at page load. React will mount the component on client load.
- Even with React Server Side Rendering, the script tag would not be executed because React protects from malicious code that will set raw html inside components. One would need to use
__dangerouslySetInnerHtmlin order for this to work
This, we need to adjust our React code in Docusaurus to:
- execute the script; and then
- create the HTML tags at the
<script>tag; but - only do it client side;
Docusaurus will generate both server and client code during the build step. Although it would would actually have some benefits have generated so that there is less JS running on client initial load, there is added complexity in trying to wrangle with the Docusaurus SSR build step, so just leaving it client side is fine as well. It also are no SEO benefits to be gained, so leaving it client side is fine.
For any other React library, this would likely be irrelevant.
Step 1: Create the Form
Create the form inside EmailOctopus and obtain the embed script.
Step 2: Add the wrapped component to your layout
Add in the <Newsletter /> tag to whereever you want to slot your newsletter form at. You can also swizzle one of the layout components, but how to do that is out of scope for this blog post.
import React from "react";
import Newsletter from "@site/src/components/Newsletter";
export default function MyComponent(props) {
  return (
    <>
      <Newsletter />
      ...
    </>
  );
}
Step 3: Install React Helmet
We'll need some way to load the script in the head of the HTML document. We'll reach for React Helmet in this walkthrough guide, so do the current variation du jour of npm install --save react-helmet.
Step 3: Add in the Newsletter component
For our component to work successfully, we need to create a the file at /src/components/Newsletter.tsx and define the compoennt as such:
//  /src/components/Newsletter.tsx
import React from "react";
import { Helmet } from "react-helmet-async";
import BrowserOnly from "@docusaurus/BrowserOnly";
const Newsletter = () => (
  <div
    style={{
      marginLeft: "auto",
      marginRight: "auto",
    }}
  >
    <BrowserOnly>
      {() => (
        <>
          <Helmet>
            <script
              async
              defer
              src="https://eomail1.com/form/983899ac-29fb-11ef-9fcd-4756bf35ba80.js"
              type="text/javascript"
            ></script>
          </Helmet>
          <script
            type="text/javascript"
            data-form="983899ac-29fb-11ef-9fcd-4756bf35ba80"
          ></script>
        </>
      )}
    </BrowserOnly>
  </div>
);
export default Newsletter;
In this page, there are a few things that are going on:
- We set the script to the
<Helmet />component, meaning that this would be placed in the<head>tag of the HTML document. Two additiona attributes are added as well:deferto load this after the main document loads, andtype="text/javascript"for completeness. - We also add in the extra
<script>tag in the component, with thedata-formattribute to let the script identify it as the parent node to insert the form elements. - We also wrap all of this inside of the
<BrowserOnly />component that comes with Docusaurus, which allows us to only run this code when on the client. As these scripts do not affect SEO, it is not necessary to include it in the server side generation.
Step 4: Verify it all works
Now check that it all works on your localhost as well as on production, and now pat yourself on the back!